DIY mechanical keyboard kits, otherwise known as barebones kits are picking up in popularity and here at Computer Lounge we are building up our range! These kits make it easy for anyone to get started with their own customized mechanical keyboard, so we thought it would be a great idea to go through what these DIY kits include, how they can be customized, and how you can use one to put together your own build!
DIY or barebones kits are available from a variety of different manufacturers, but today we will just focus on some of the units we have available from Akko and Glorious as examples. Barebones kits are incomplete keyboards - they do not include a set of keycaps or mechanical switches. This is great for a few reasons: You can purchase the switches of your choice as well as the keycaps of your choice to make your keyboard your own! Typically barebones kits are highly customizable, so there are other parts that you can swap out if you want to further modify a kit to your liking.

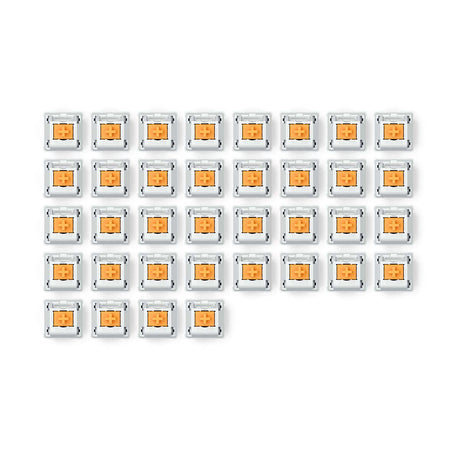
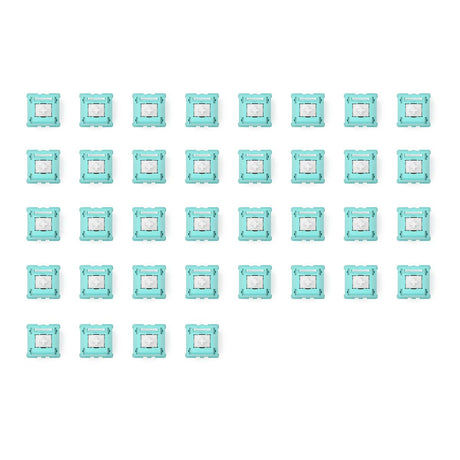
With a DIY kit you just need to pick what size you want, and then pick up enough switches to populate the sockets as well as a compatible keycap set. Just make sure to pick a keycap set which has the right keys for your board, as some sets are made for specific layouts and may not include the right size modifier keys for your particular size kit. If you need some extra information you can refer to our other blog posts below explaining the differences in keyboard size, switch selection, and keycap selection:
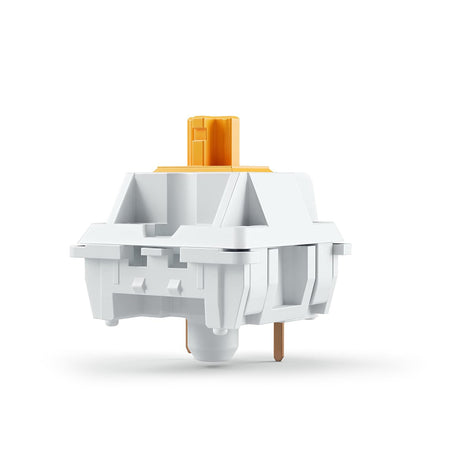
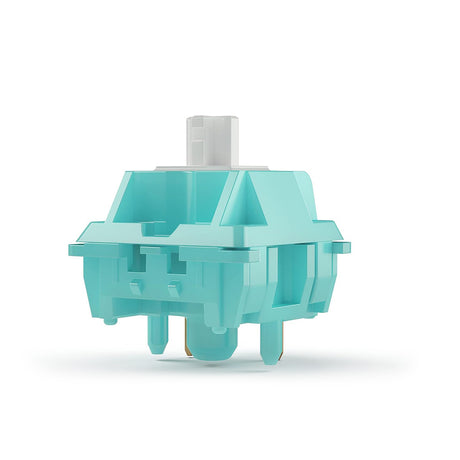
Once you purchase a DIY or barebones kit, all you have to do is install the switches into the sockets, and then install the keycaps on top of the switches in the correct location! It’s that easy! The kits that we have available all support hot-swapping switches so there is no need to do soldering of any kind, and if you want to remove the keycaps and switches then you can use a keycap puller and a switch puller to remove them. When installing the switches, just make sure to install them in the correct orientation as you can damage the pins on the bottom of the switches if you try to push them into the sockets in the wrong way. All that’s left after that is to get the board plugged into your computer and install the software to set up lighting and key bindings if you have any!

For those of you that want a bit more detail about the DIY kits, we will also go through what makes up these kits and how they differ. Below are the components which make up a typical barebones kit:
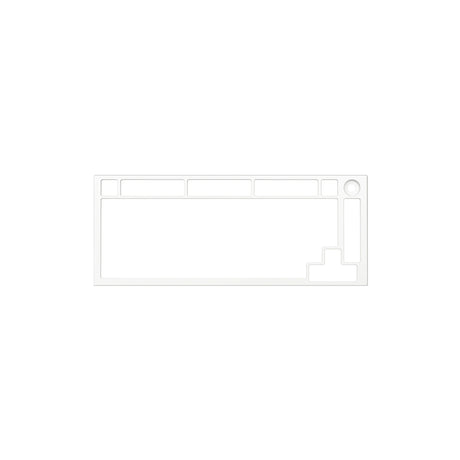
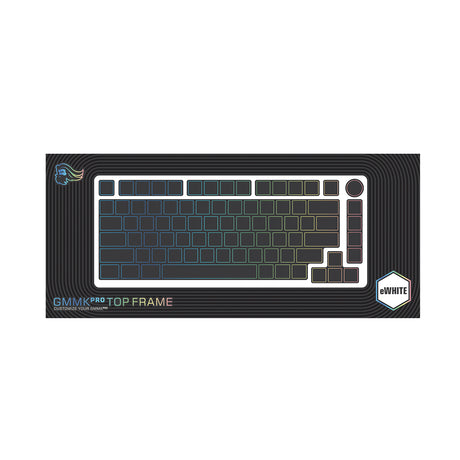
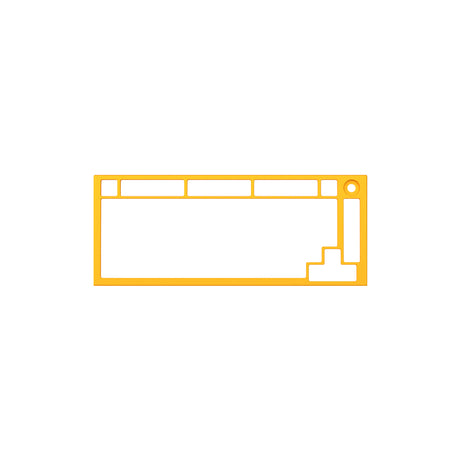
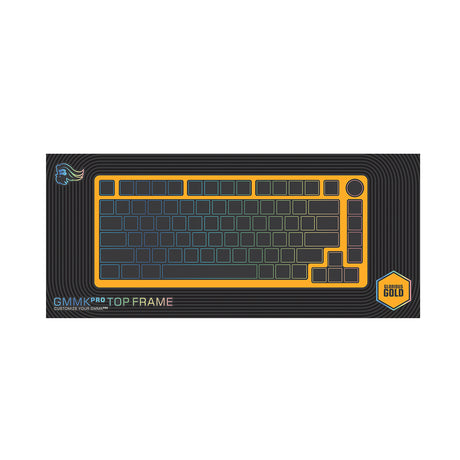
- Top frame/housing
- Bottom frame/housing
- Cable
- Stabilizers
- PCB
- Mounting plate
- Sound dampening materials
Some keyboards also include other components such as additional lighting but it will vary from kit to kit so we will try to keep things simple and focus on the main components of a kit.

The top frame and bottom frame otherwise called the keyboard case is pretty self explanatory. Different kits will come with different materials for these, and kits like the Glorious GMMK Pro have different colour options for the frame. Most of the kits we have are manufactured with CNC aluminium for a hefty and quality feel, but there are some frames made of a range of different plastics for including features like underglow lighting.
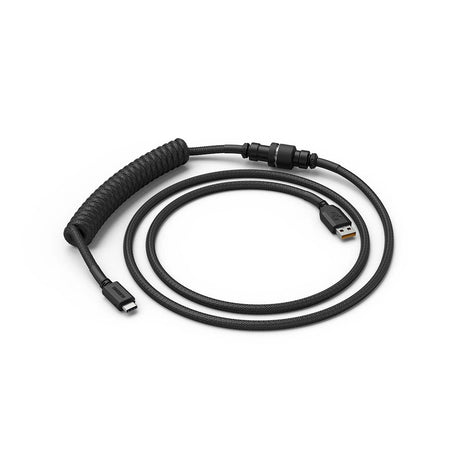
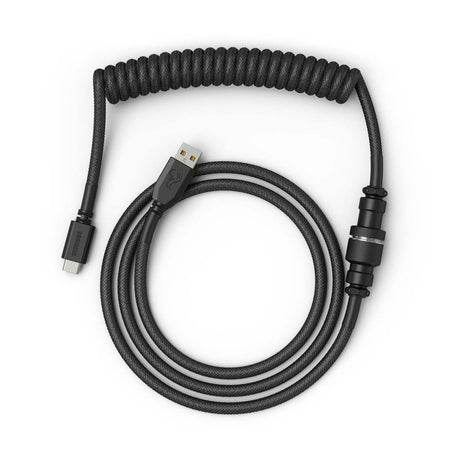
Most kits also include a cable, sometimes a coiled cable on higher-end kits and this is entirely a preference based choice. We have a range of coiled cables in a bunch of different colours which you can check out HERE.
Stabilisers are another component which is typically upgradable on DIY kits. They come in 2 varieties usually - PCB mount, or plate mount. The job of the stabiliser is to reduce shaking, rattling, and wobbling on the longer keys such as the spacebar or enter keys. Plate mount stabilisers are normally the entry level as they are not quite as securely installed compared to PCB mount stabilisers. Stabilisers can be further categorised into clip-in and screw-in. Clip-in stabilisers tend to be looser fitting compared to screw-in again depending on the exact model. Sometimes clip-in stabilisers can be modified through lubing, or clipping the feet but this will depend on the particular stabiliser as well as personal preference. Screw-in stabilisers are typically a higher-end option, and enthusiasts generally prefer these for high-end builds.

The PCB (printed circuit board) is a core component which provides much of the functionality and features of a keyboard. The PCB will determine things like what lighting is present on the board, as well as if the switches are hot-swap capable and what software is used to control the keyboard. The combination of the PCB and case can be configured in different ways to modify the typing experience, and a common method of installing the PCB in the case is through gasket mounting. This type of mounting is preferred as it absorbs the impact of keystrokes which has a different acoustic profile compared to directly mounting the PCB to the frame.
The mounting plate is what goes between the switches and PCB on a plate-mount keyboard. Different materials are available for these plates, but some common ones are polycarbonate, brass, FR4 (a type of plastic), or aluminium. You want to pick a plate that complements the switches that you are installing on the board, as the plate can alter the acoustic profile and feel. Many users prefer to use a plate with more flexibility like polycarbonate or carbon fibre with tactile or clicky switches, and a harder plate like steel or brass with linear switches. Clicky switches sound different when using different plates, so depending on what kind of acoustic profile you prefer you want to pick a plate you prefer. Kits like the AKKO MOD 007v2 support swapping the plate so you can try and see what plate you prefer between different materials.
Some kits also include dampening foam to absorb vibrations inside the keyboard, such as EVA foam under the plate on the Akko MonsGeek M1 kits. You can also add your own foam if the kit supports it, and completely customise the acoustic profile this way as well.
That covers all the basics of what makes up the DIY/barebones mechanical keyboard kits, have a chat to our sales team in-store or online if you want to know more about all things mechanical keyboards!